Apple Pencil Using Tips: Do More Than Doodle
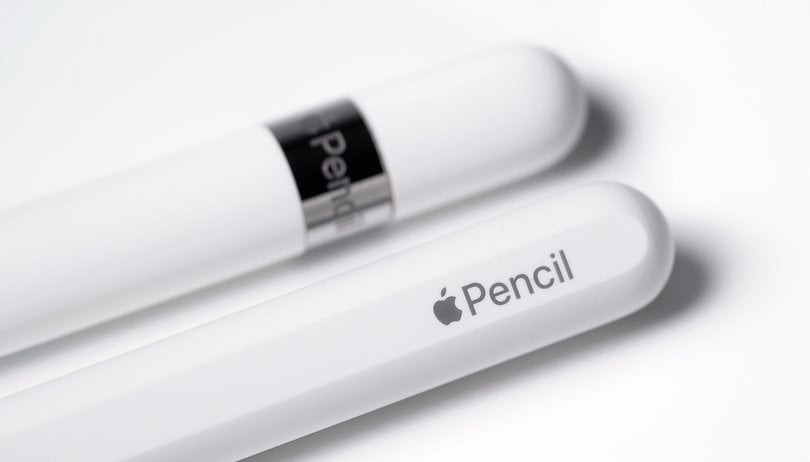
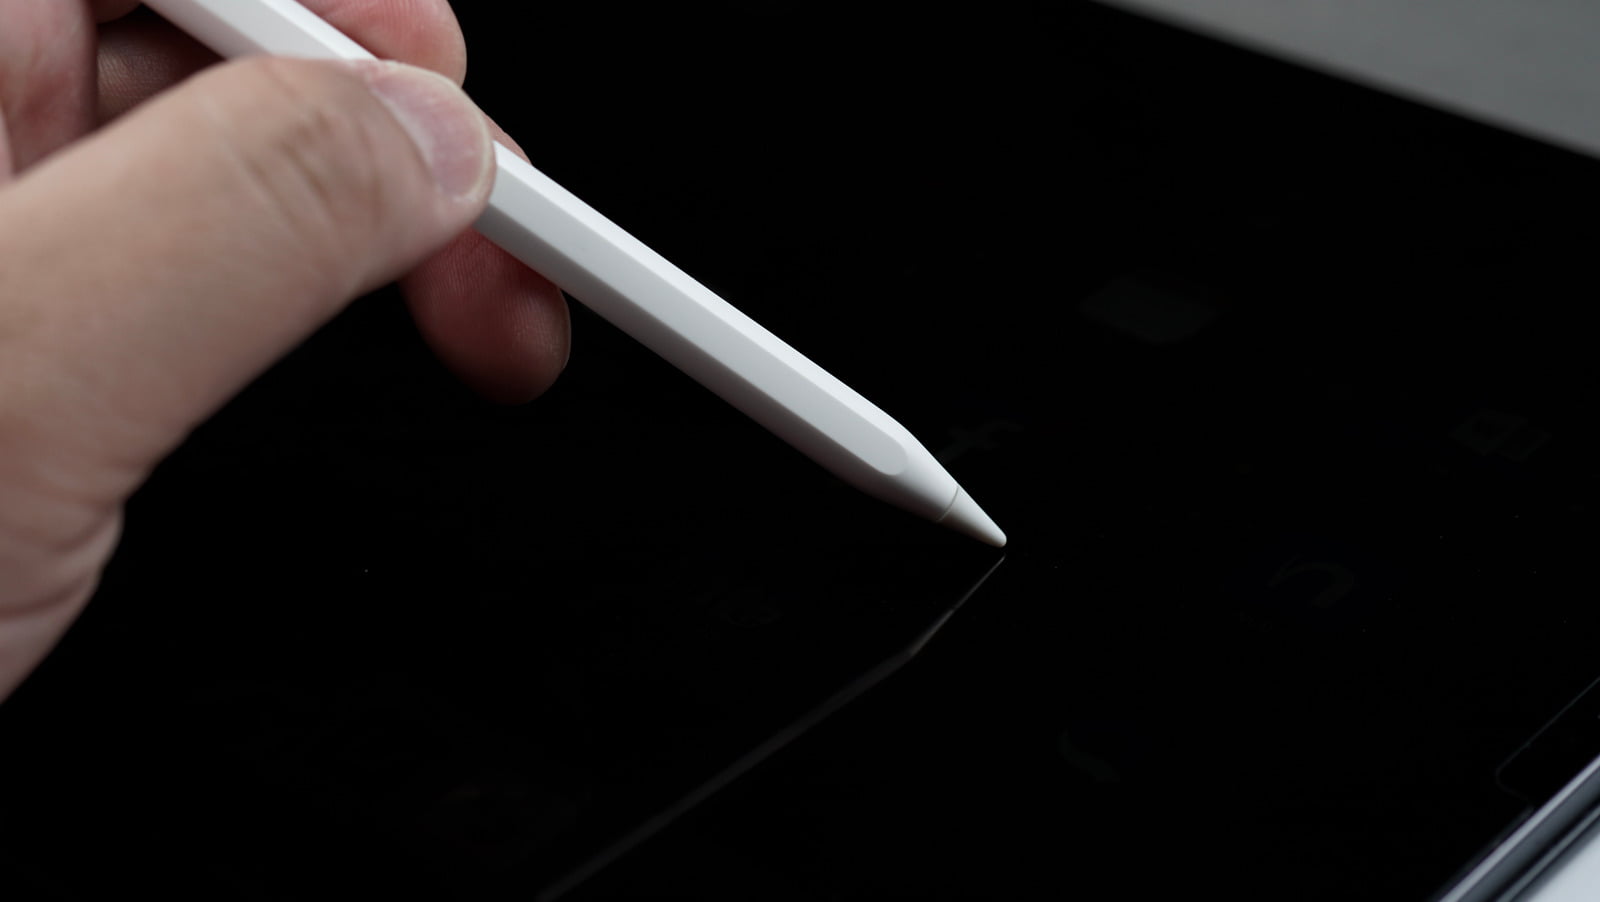
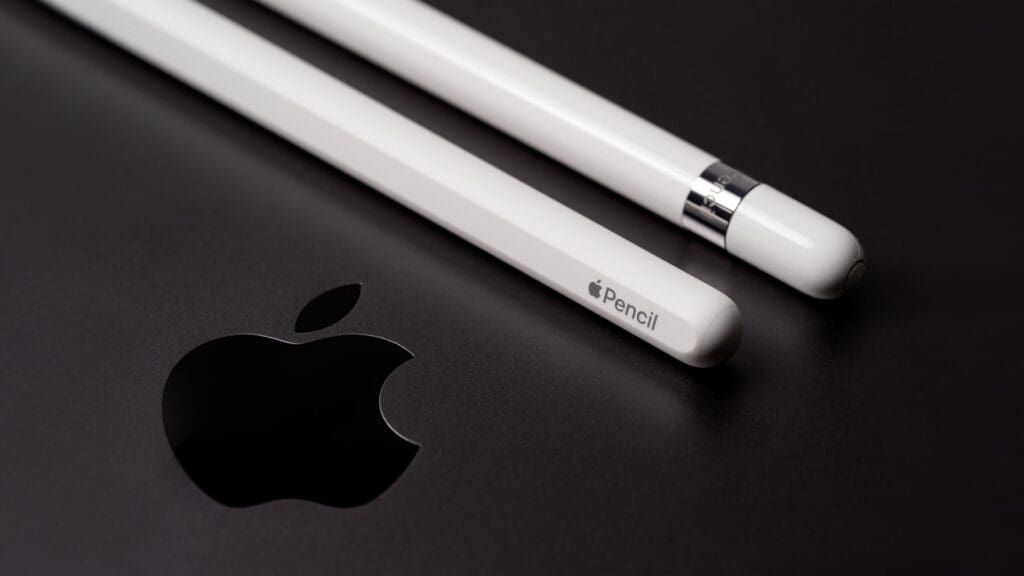
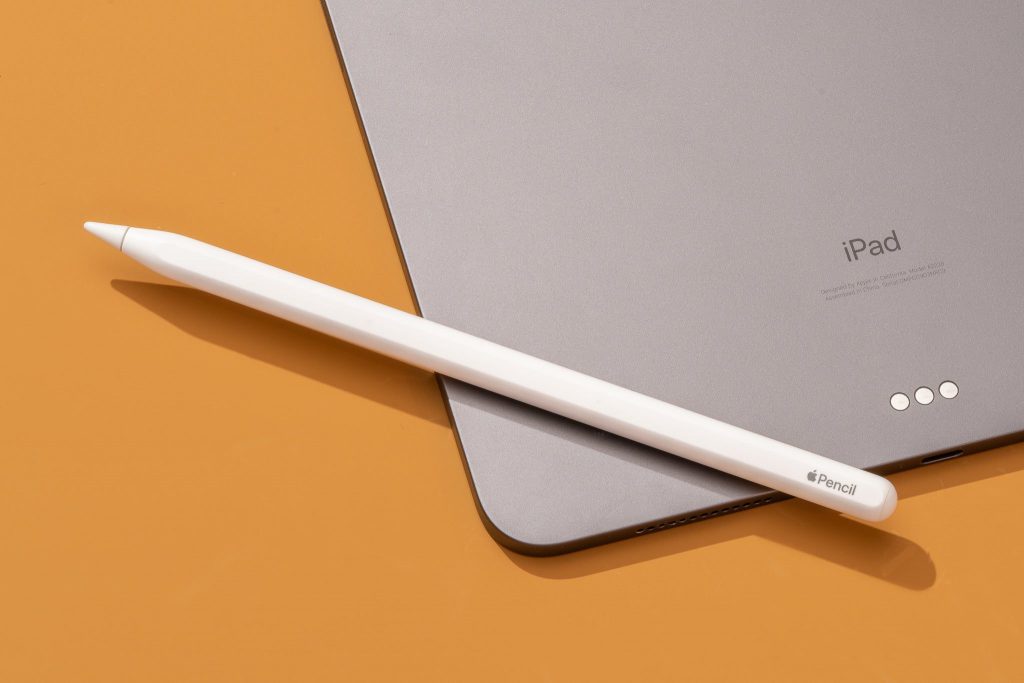
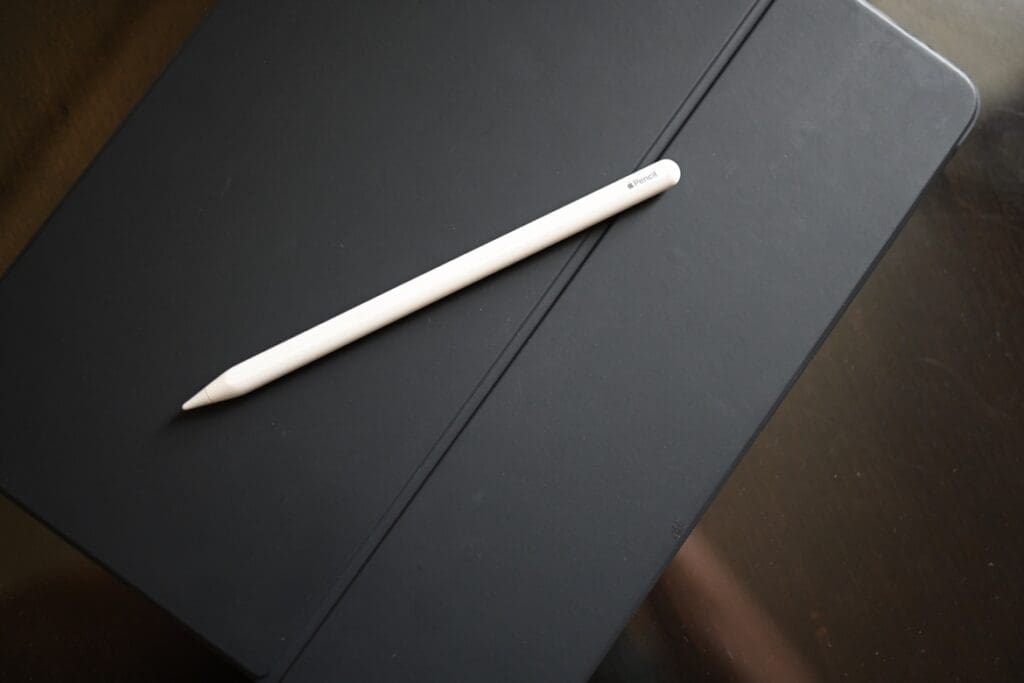
The Apple Pencil is a digital stylus designed and developed by Apple Inc. It is a device you can use to draw, write, and navigate on Apple’s iPad and iPad Pro tablets, as well as specific models of iPhones. It uses advanced sensors and pressure sensitivity to accurately detect the user’s movements and provide an incredibly natural and responsive drawing experience. Use it to edit photos and videos, make presentations, and play games! With the Apple Pencil, users can create precise and detailed artwork, take handwritten notes, annotate documents, and more.
Are you someone who loves drawing and creating art? Or you’re a student who takes lots of handwritten notes. If so, consider using the Apple Pencil – a digital stylus designed and developed by Apple Inc.
So if you’re curious about what this powerful digital tool can do for you, keep reading to learn more about the 10 amazing things you can do with the Apple Pencil!
Drawing And Painting
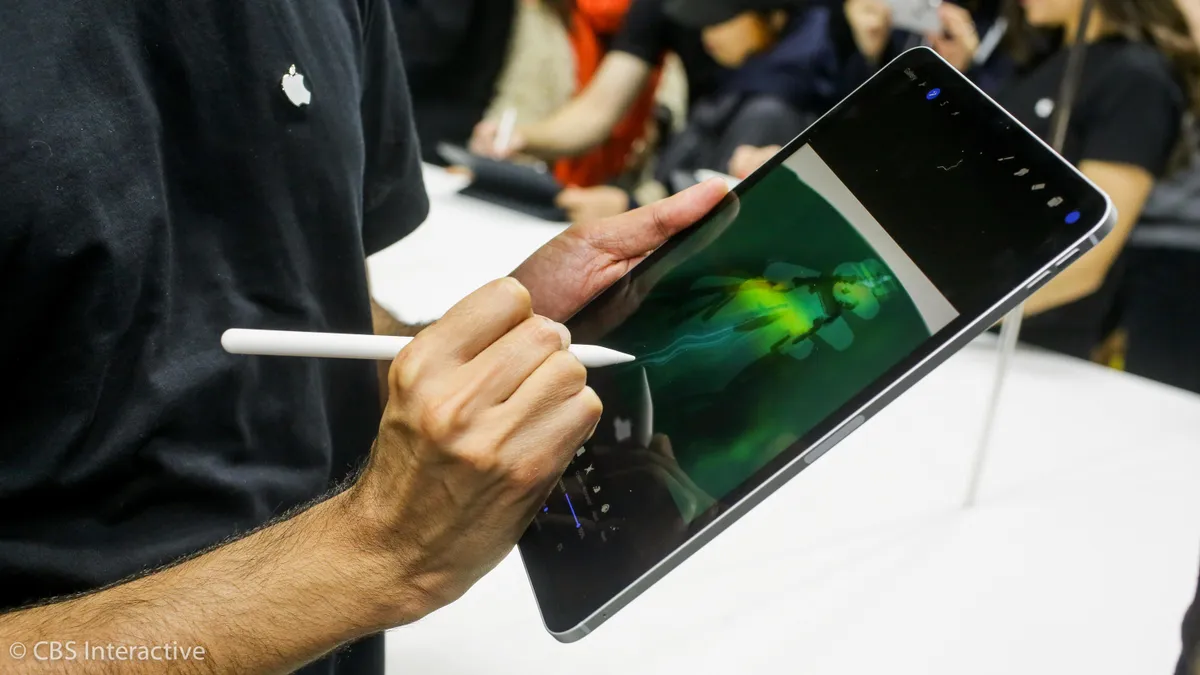
One of the primary uses for the Apple Pencil is drawing and painting. The Apple Pencil is incredibly responsive and accurate, with sensors that can detect pressure and tilt. It means you can create beautiful, precise artwork on your iPad or iPad Pro.
Pressure Sensitivity: The Apple Pencil is incredibly sensitive to pressure, so you can create lines that vary in thickness depending on how hard you press down. This feature allows you to create a wide range of brush strokes, from fine lines to bold strokes.
Tilt Sensitivity: The Apple Pencil can also detect the angle at which you’re holding it, which means that you can create shading and other effects by changing the angle of the Pencil. This feature is handy for creating realistic shadows and highlights.
Palm Rejection: When drawing or painting with the Apple Pencil, you don’t have to worry about accidentally resting your hand on the screen. The Pencil has a palm rejection feature that ensures that only the Pencil tip registers on the screen.
Latency: The Apple Pencil has incredibly low latency, meaning there’s minimal delay between when you make a stroke and when it appears on the screen. This feature ensures that your artwork feels natural and responsive.
Customizable Settings: The Apple Pencil can be customized to suit your drawing style. You can adjust the double-tap function to switch between tools, change the pressure sensitivity, and more.
There are several drawing and painting apps that are optimized for use with the Apple Pencil. These apps take full advantage of the Pencil’s advanced features and allow you to create artwork that rivals what you could create on a desktop computer. Here are a few popular apps:
Unleash Your Creativity: Stunning Artwork You Can Create with the Apple Pencil
The Apple Pencil is a powerful tool that you can use to create a wide variety of artwork. Here are some examples of the types of artwork that you can do with the Apple Pencil:
Digital Illustrations: You can use it to create detailed line work, add shading and texture, and color your artwork. Many professional illustrators use the Apple Pencil to create stunning artwork for books, magazines, and more.
Hand-Lettering and Calligraphy: You can create beautiful lettering with various brush styles, from fine and delicate to bold and expressive. Hand-lettering and calligraphy are popular for creating personalized gifts, invitations, and more.
Comics and Manga: Many professional comic book artists and manga artists use the Apple Pencil to create artwork. You can make detailed line work, add shading and texture, and create dynamic action scenes.
Digital Paintings: Use it to create realistic textures and brush strokes and to blend colors together seamlessly. Digital paintings are famous for creating portraits, landscapes, and more.
Sketches and Doodles: You can capture ideas and inspiration on the go and create detailed sketches for later refinement. Many artists use the Apple Pencil to create daily sketches as part of their creative practice.
Essential Tips and Tricks for Drawing and Painting
If you want to get the most out of drawing and painting with the Apple Pencil, some tips and tricks can help you improve your technique and create stunning artwork. Here are some of the best tips and tricks for using the Apple Pencil:
Experiment with different brush styles: The Apple Pencil uses various brush styles, including pencils, pens, and brushes that simulate traditional media like watercolors and oils. Experiment with different brush styles to find the ones that work best for your style and technique.
Adjust your pressure sensitivity: The Apple Pencil is pressure-sensitive, which can detect how hard or soft you’re pressing. You can adjust the pressure sensitivity settings in your drawing app to get the most out of the Apple Pencil.
Use layers: Many drawing and painting apps allow you to create multiple layers, which can be a powerful tool for creating complex artwork. Use layers to separate your artwork into different elements and make it easier to make changes and adjustments later on.
Practice your stroke technique: The Apple Pencil is incredibly responsive, which means it can detect even subtle changes in your stroke technique. Practice your stroke technique to create smooth, fluid strokes that add depth and dimension to your artwork.
Take advantage of tilt and angle: The Apple Pencil can also detect the angle and tilt of your hand, which can be a powerful tool for creating various line styles and effects. Experiment with different angles and tilts to see how they affect your brush strokes.
Note-Taking and Annotation
Handwriting recognition and markup. These are two distinct features people use in digital tools for document editing and management.
Handwriting recognition refers to the ability of a digital device or software to interpret and convert handwritten text into editable digital text. You can use handwriting recognition for taking notes, creating documents, and annotating digital content. You can use this technology with touchscreens and stylus pens on tablets and smartphones. The software recognizes the shapes and patterns of the written text and uses algorithms to convert it into machine-readable text that you can edit or store digitally.
Conversely, markup is a set of annotations or symbols you can add to a document to provide additional information, formatting, or instructions. You can use markup in digital documents like HTML, XML, and PDF files to indicate headings, paragraphs, links, and other document structure elements. Also, you can use markup to add comments, highlight text, draw shapes, and add other visual elements to a document. Markup helps collaborate on documents, review content, and provide feedback.
For example, a user might write notes on a digital document using a stylus and then use markup tools to highlight key points or add additional comments. These annotations can then be shared with other users for review or collaboration, making working together on digital documents easier.
How the Apple Pencil can improve productivity and organization
Note-taking: Take notes during meetings, lectures, brainstorming ideas, or planning projects.
Document markup: Highlight important information, add comments or suggestions, or draw attention to specific document sections.
Graphic design: The precision and control offered by the Apple Pencil make it an excellent tool for visual design tasks. Users can create illustrations, logos, or other graphics directly on their iPad, using apps like Procreate or Adobe Illustrator.
Task management: With the Apple Pencil and apps like GoodNotes or Notability, users can create task lists, organize schedules, or plan projects. Writing and drawing directly on the screen can help users visualize their tasks and goals, making it easier to stay on track and prioritize their work.
Digital art: This can be a helpful skill for artists or designers, who can create and share their work digitally using apps like Procreate, SketchBook, or Adobe Fresco.
How the Apple Pencil Elevates Video and Photo Editing
The Apple Pencil is a versatile tool to enhance video and photo editing workflows in many ways. For example:
- Selection and masking: Make precise selections and masks in photo and video editing software, such as Adobe Photoshop, Lightroom, or Premiere Pro. You can draw around the edges of an object or subject, creating a detailed mask and adjusting it as needed.
- Retouching and cloning: Clone tasks in photo editing software include removing blemishes or unwanted objects from a photo. You can paint over the areas they want to remove or clone, using the pressure sensitivity and precision of the Apple Pencil to create seamless edits.
- Drawing and painting: Directly create digital art, such as illustrations or paintings, on an iPad. Users can use drawing and painting apps like Procreate or Adobe Fresco to create original artwork or enhance photos or videos with custom graphics and effects.
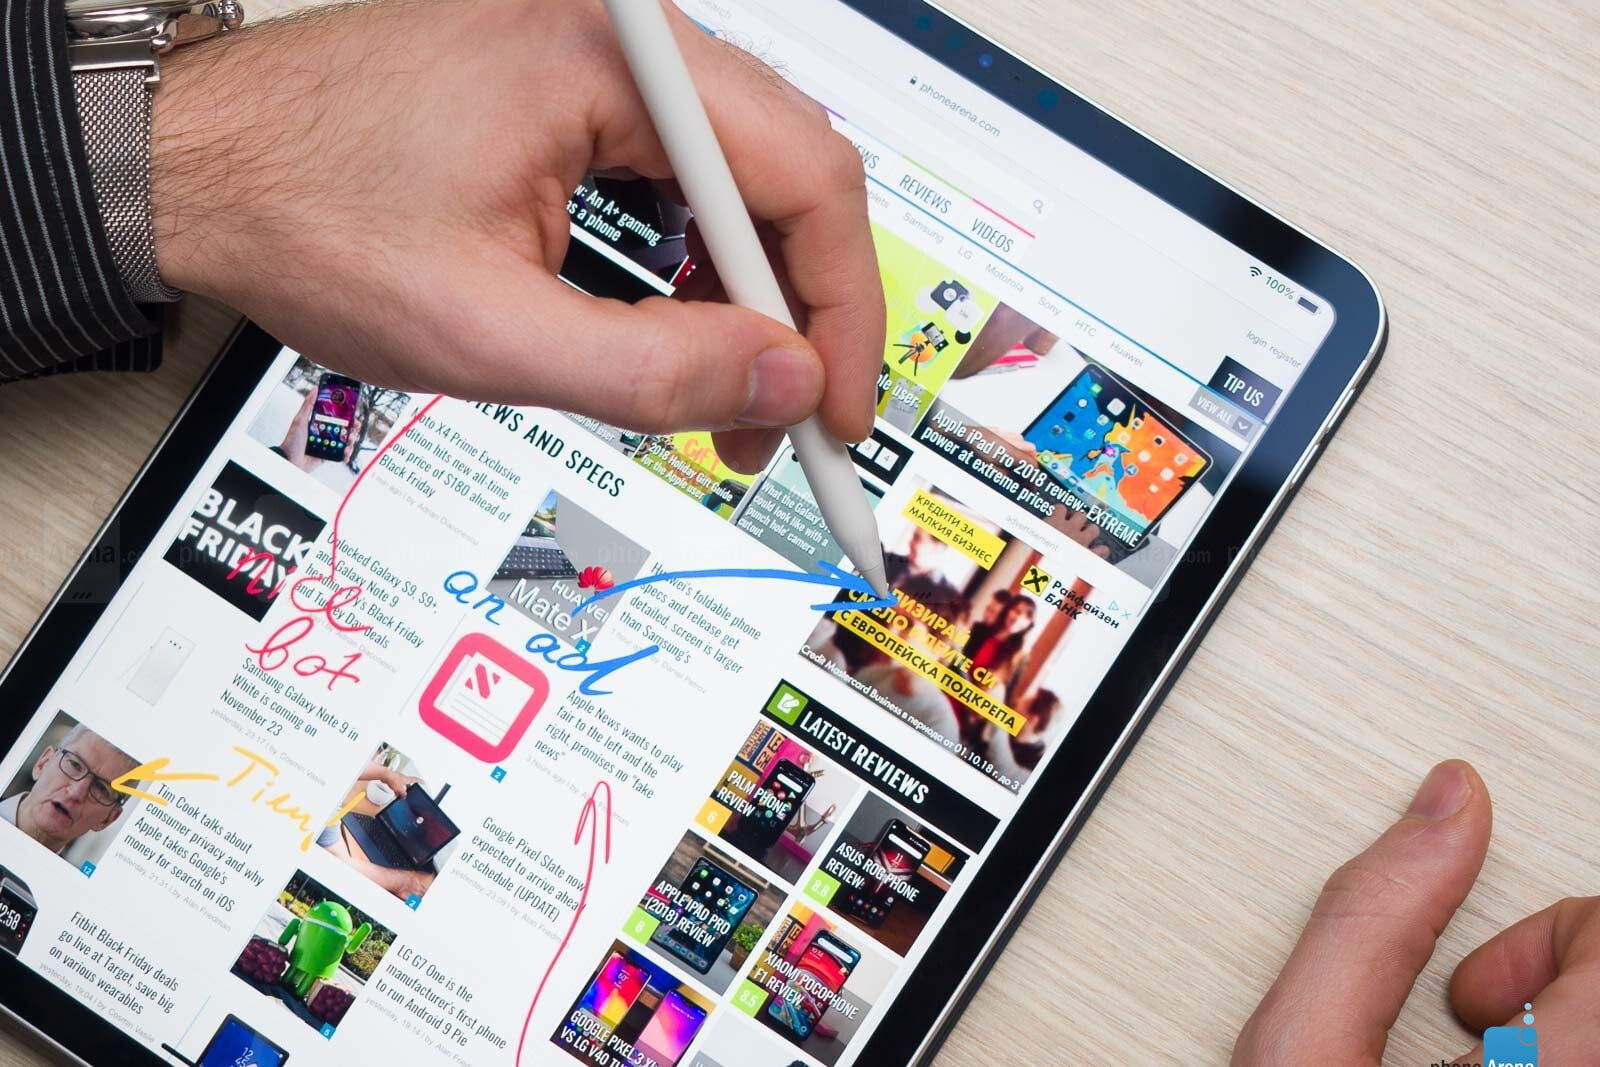
- Annotation and markup: Annotate and mark up video and photo content, making collaborating with others or providing feedback easier. You can draw directly on top of images or videos, highlighting essential elements or adding notes or comments.
- Color correction and grading: Precise color correction and grading tasks in video editing software, such as Final Cut Pro or DaVinci Resolve. You can use the pressure sensitivity and precision of the Apple Pencil to adjust color levels, saturation, and other settings, creating professional-grade color correction.
Mastering Calligraphy and Hand Lettering with the Apple Pencil
Are you a lover of beautiful lettering? Do you want to evoke emotions and express your innermost feelings through your art? If so, the Apple Pencil is the perfect tool for you! With its intuitive pressure sensitivity and tilt recognition, the Apple Pencil empowers you to create stunning calligraphy and hand lettering that will captivate your audience.
With the Apple Pencil, you can unleash your creativity and bring your emotions to life on your digital canvas. Using the Pencil’s pressure sensitivity, you can create delicate, flowing strokes that convey a sense of calm and serenity. Or, by applying more pressure, you can create bold, expressive lines that represent a sense of passion and energy.
Imagine the thrill of seeing your letters leap off the page, imbued with emotion and depth! And let’s remember the Pencil’s tilt recognition. By adjusting the angle of the Pencil, you can create shading and depth that give your lettering a sense of three-dimensionality.
With calligraphy and lettering apps, you can explore a range of brush and pen styles that cater to your specific style and preferences. Want to create vintage-inspired lettering? Try a brush style that mimics an old-fashioned nib. Looking to create a more modern look? Choose a bold, sans-serif pen style.
But it’s not just about the brushes and pens. These apps also offer a range of textures and backgrounds that can help you create a mood and evoke an emotion in your audience. From watercolor washes to gritty paper textures, the options are endless.
You can use several apps for calligraphy and hand lettering with the Apple Pencil. Here are some popular options:
Procreate: A popular digital art app for iPad that offers a range of tools and features for calligraphy and hand lettering. It has a vast selection of brushes and pens, customizable brush settings, and a range of paper textures and backgrounds. It also offers a handy “smoothing” feature that helps create smoother, more precise lines.
Adobe Fresco: Another excellent calligraphy and hand lettering app. It offers a range of vector and raster brushes, including calligraphy brushes and pen tools. It also has a live brush feature that simulates the look and feel of natural media, like oil and watercolor.
Tayasui Sketches: A user-friendly app that offers a range of brushes and pens, including calligraphy pens, markers, and brushes. It also provides a wide range of colors and customizable brush settings.
Autodesk Sketchbook: Autodesk Sketchbook is a powerful drawing and painting app that offers a range of tools and features for calligraphy and hand lettering. It has a large selection of brushes and pens, customizable brush settings, and a wide range of textures and backgrounds.
Gaming with the Apple Pencil
The Apple Pencil isn’t just a tool for artists and designers – it’s a versatile and powerful accessory that can bring your mobile gaming experience to life! Here are some compelling examples of how you can use it in gaming:
Immersive Drawing and Sketching: Imagine playing Draw Something, but instead of using your finger to draw, you’re using the Apple Pencil! With its precise controls and pressure sensitivity, you can create stunning, detailed drawings that amaze your friends and opponents. And with the Pencil’s natural feel, it’s almost like you’re drawing on paper!
Precision Gameplay: Nothing beats the thrill of playing a fast-paced first-person shooter or racing game, and with the Apple Pencil, you can take your gameplay to the next level! With its pinpoint accuracy and lightning-fast response time, you can make quick and precise movements that will leave your opponents in the dust.
Multiplayer Fun: What’s better than playing games with friends? Playing games with friends using the Apple Pencil! Whether playing a drawing game like SketchParty TV or a cooperative game like Minecraft, the Apple Pencil lets you collaborate and create together like never before!
Strategic Advantage: In strategy games like Civilization VI, the Apple Pencil is a powerful tool that can give you the edge you need to win! You can use it to draw out battle plans, mark essential locations on the map, or even write notes and reminders to yourself. With the Apple Pencil, you’ll be a master strategist in no time!
Personalized Controls: Everyone has their style of gameplay, and with the Apple Pencil, you can create a control scheme that’s perfect for you! Whether mapping specific actions to the Pencil’s buttons or using it as a shortcut for specific commands, the Apple Pencil lets you customize your gameplay experience in a natural and intuitive way.
How to customize the Apple Pencil’s settings for optimal use
Customizing the settings of your Apple Pencil can help you get the most out of this powerful tool. Here are some steps to help you optimize your Apple Pencil’s settings:
Pair your Apple Pencil: To customize your Apple Pencil’s settings, you first need to pair it with your iPad. To do this, plug your Apple Pencil into the Lightning port on your iPad and follow the on-screen instructions.
Adjust pressure sensitivity: The Apple Pencil is pressure-sensitive, meaning the harder you press, the thicker and darker the lines. To adjust the pressure sensitivity, go to Settings > Apple Pencil, and adjust the pressure slider to your liking.
Customize button functions: The Apple Pencil has a button on its side that you can customize to perform different functions. To customize the button, go to Settings > Apple Pencil, and select the function you want to assign to the button.
Adjust palm rejection: When using the Apple Pencil, you don’t want your palm to register on the iPad’s screen accidentally. To adjust palm rejection, go to Settings > General > Accessibility > Apple Pencil, and turn on the “Only Draw with Apple Pencil” option.
Customize tilt sensitivity: The Apple Pencil can also detect the angle at which it is tilted, which can help shade or create calligraphy effects. To adjust the tilt sensitivity, go to Settings > Apple Pencil, and adjust the tilt slider to your liking.
Change the tip feel: The Apple Pencil has a replaceable tip, and you can choose between two different tips with different friction levels. To change the tip feel, replace the current tip with the desired one.
Update firmware: Ensuring your Apple Pencil runs the latest firmware is a good idea. To check for updates, go to Settings > General > About > Apple Pencil, and check for any available updates.
By customizing these settings, you can ensure that your Apple Pencil is optimized for your specific needs and can help you get the most out of this powerful tool.

